 Cable management and organization is a big hassle for server technicians, but it's a must have in most cases where companies are worried about the appearance of their data centers. Every cable management arm will be different, some will mount directly to the chassis, while others will mount directly to the rail. However, the installation method demonstrated in the video below should work with most servers.
SHOP CABLE MANAGEMENT ARMS HERE
First you attach the bracket to the left rail - make sure it snaps into place. Then you attach the second part of the cable management arm to the peg on the back to the server. After that you attach the locking bracket which connects the two parts of the arm. Once you mount the arm you want to give it a good shake to make sure it's in place and sturdy.
Once the Cable Management Arm is in place you can run your network cables. You always want to keep your network cables and power cords separate from each other as the power cords may actually cause interference with your networking. After your networking cables are in place, you can now pull your DL180 G6 server forward without pulling lose any of your network ports.
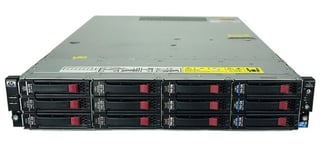
HOW-TO: Install a Cable Management Arm on an HP ProLiant DL180 G6
Now you know how to install a Cable Management Armon the back of your HP ProLiant DL180 G6 to better organize and manage your cables!
If you have any questions give us a call at 1-855-4SRVERS. You can also find us on Facebook, Twitter and YouTube.
Recommended Videos: